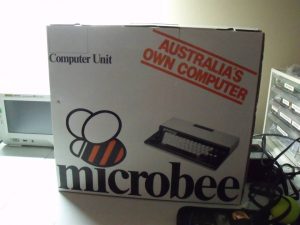
Here is a bit of a run down on my build of the Microbee Premium Plus kit from Microbeetechnology.com.au in Melbourne.
When the box arrived I was champing at the bit to get started, so first things first, unbox, and inventory the parts.
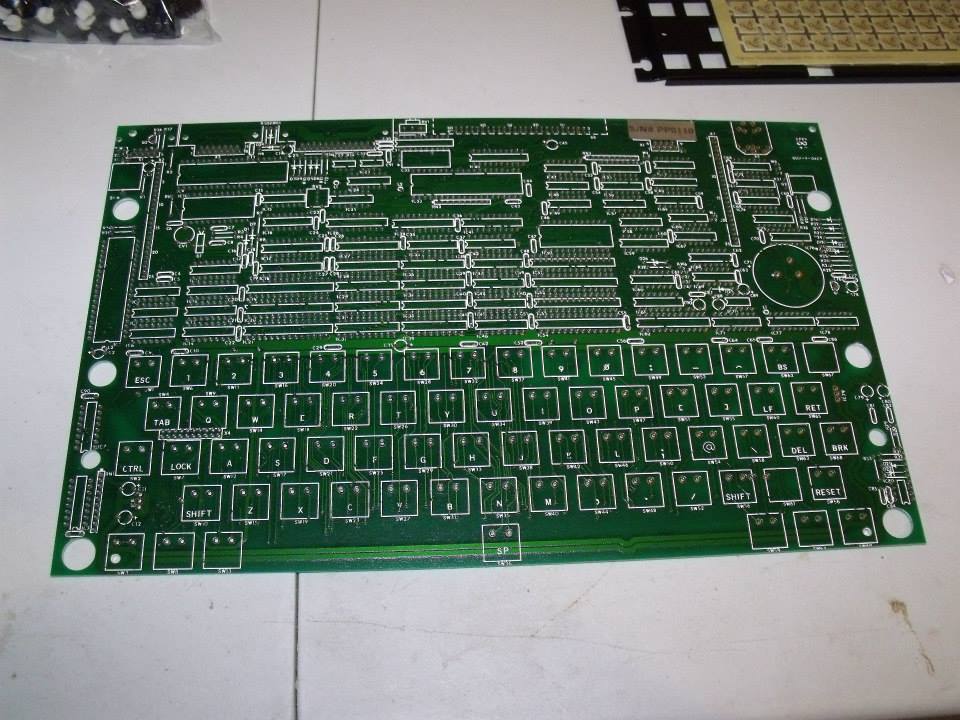
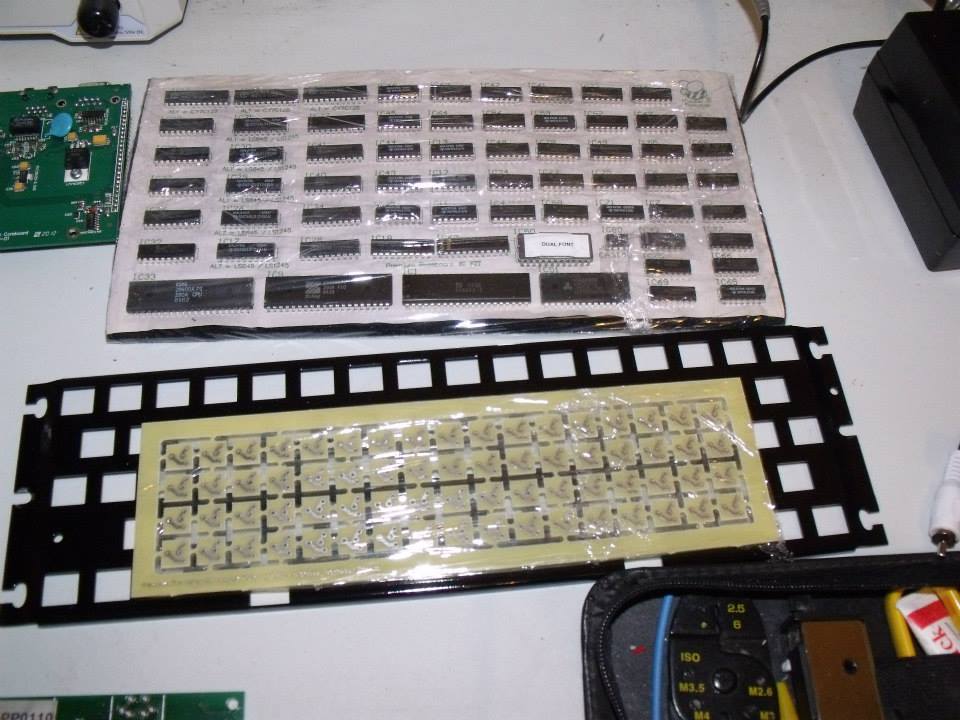
After establishing that everything was there, the build began.
Getting there…
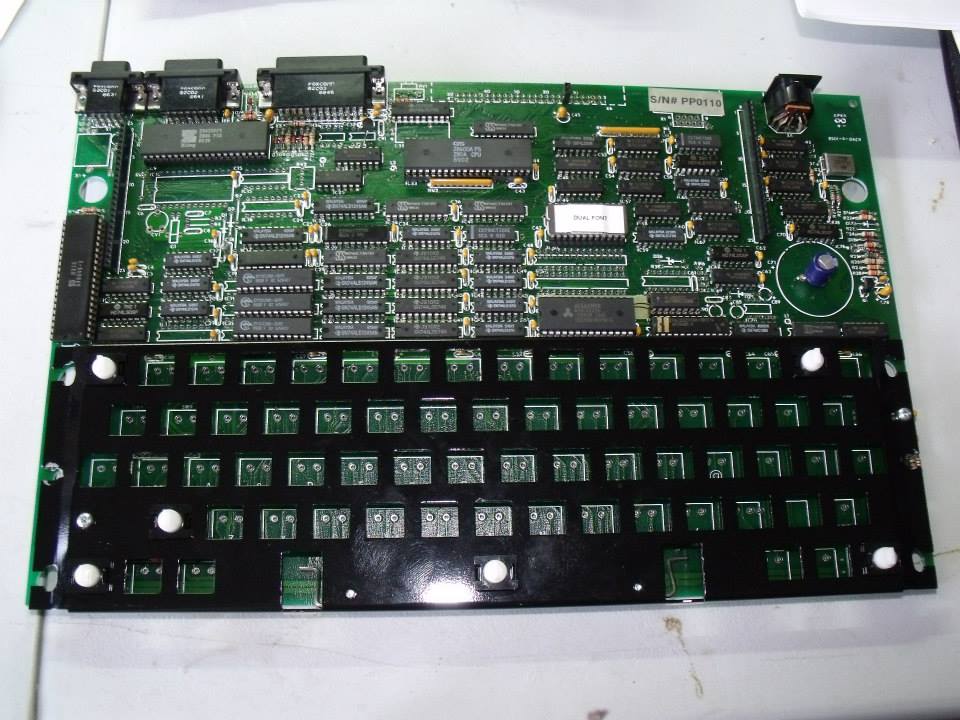
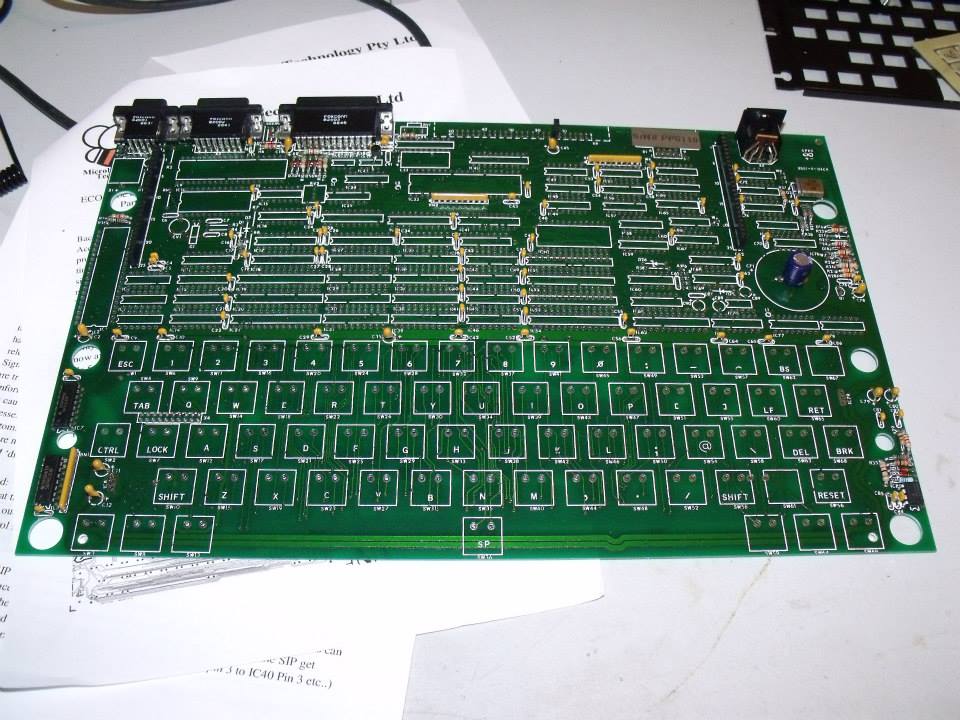
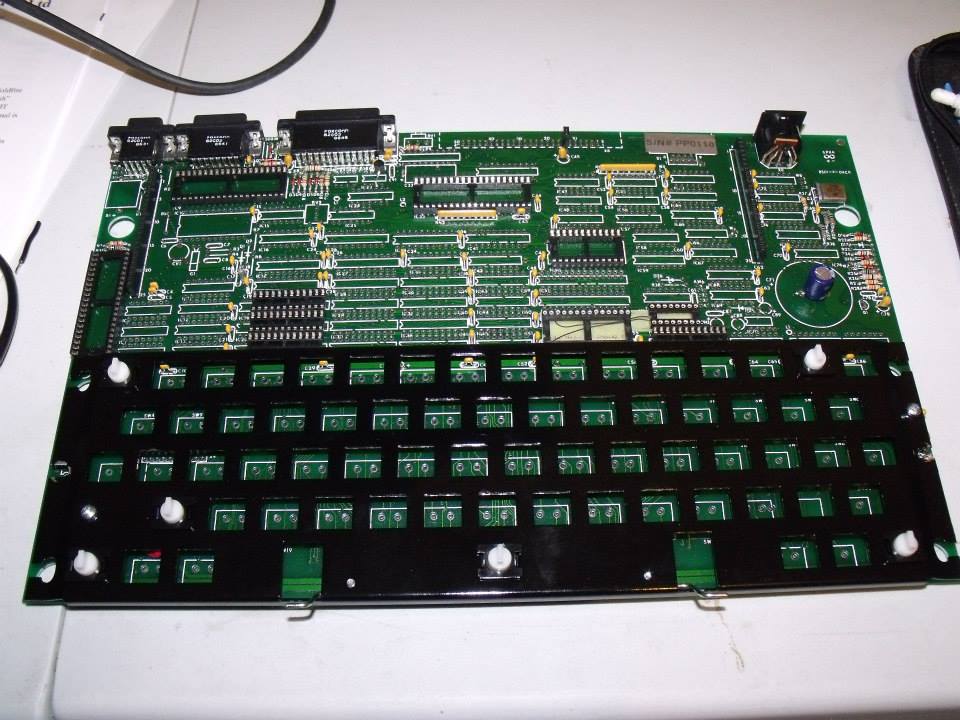
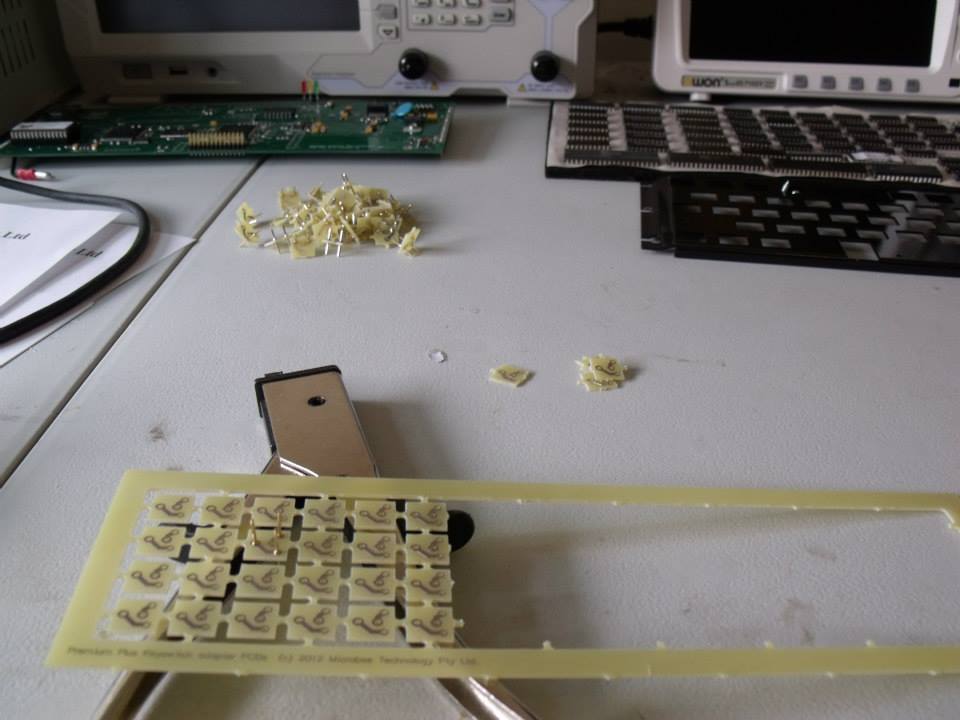
The next step in the build was to assemble the keyboard – this was a tedious, but simple process of soldering little adapter PCBs to each individual key. It took some time – but was time well spent to achieve the desired result.
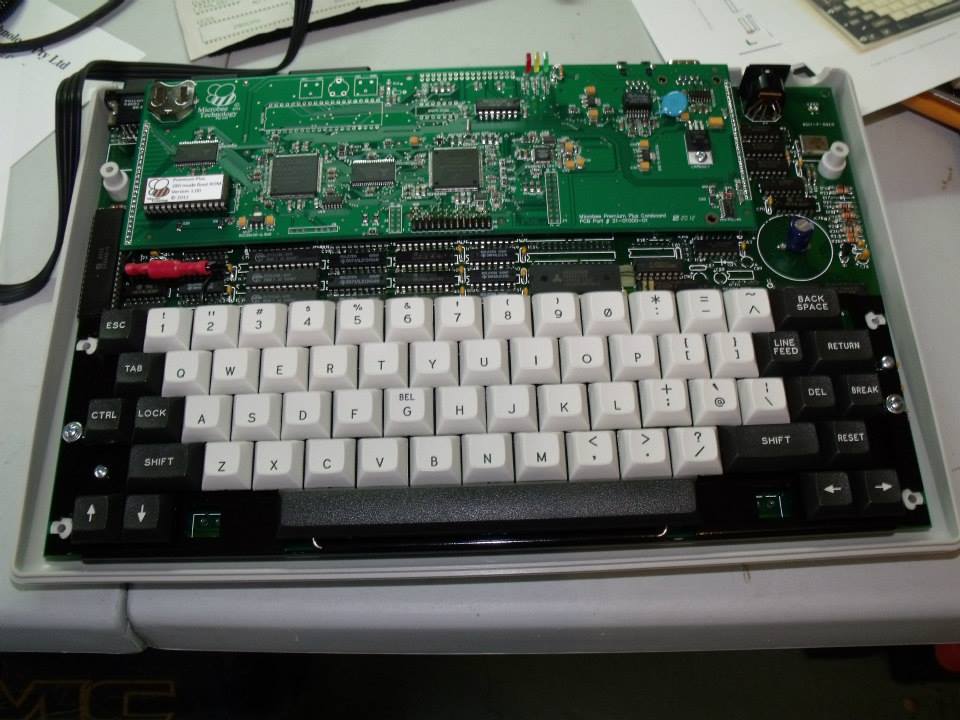
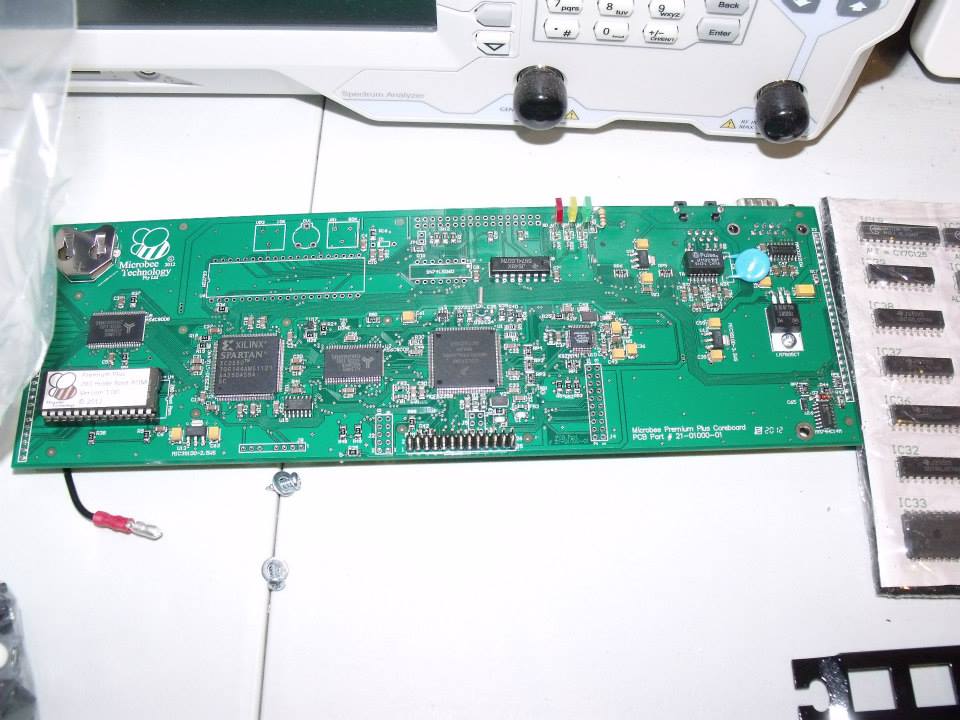
This unit worked straight away, even though I originally had some problems with video stability, I traced that down to a bent pin on the PAL chip on the video controller (my fault, my fix).
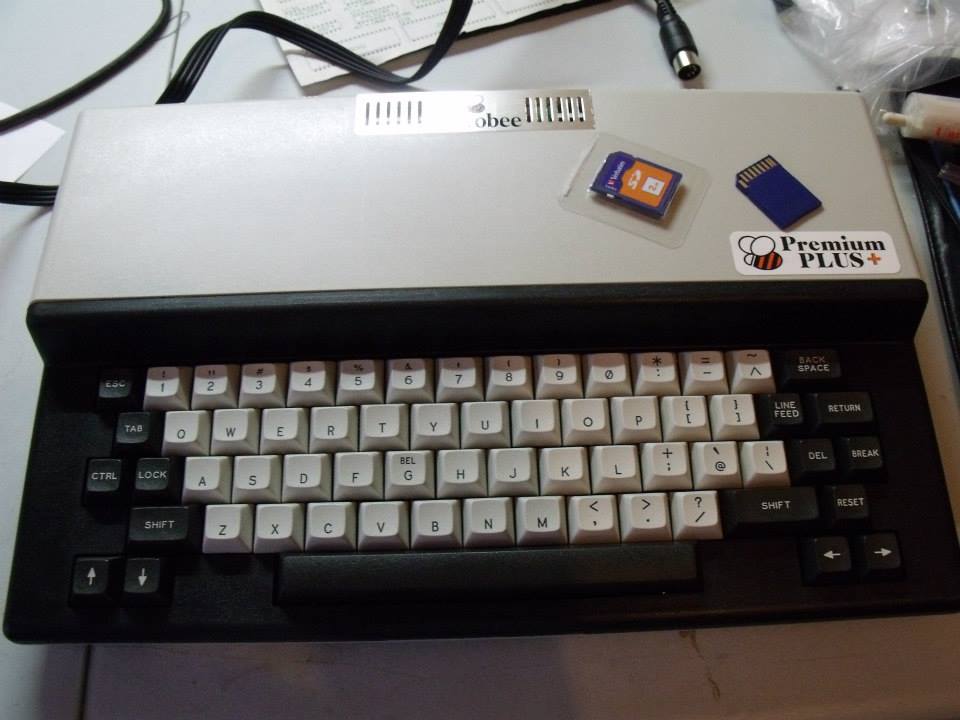
After testing, the lid went on, and I went about loading the software onto the SD cards. (This unit uses SD cards to emulate the floppy disks of the day). You can also buy the FDD controller for it, and then it will actually work with a floppy disk drive, but I did not worry about this, as I am happy using SD cards to emulate the floppy disks. The unit will work with a casette deck as-is, or you can use a digital voice recorder in lieu of a casette deck.
Building this computer was heaps of fun, and some frustration, but well worth the effort.
I have also written a BASIC program to generate Morse code from the keyboard, and I dedicated this program to the man who taught me morse code – the late Terry Ryeland (VK2UX). 73 Terry, rest well.
I would love to see this kit get reviewed by the likes of EEVblog and the 8 bit guy on Youtube. I feel that this unit is far superior to other offerings that I have seen.
73 and keep on building!